A method to repair horizontal fractures on upper centrals
Posted on November 05 2016
Patient not happy with the composite repair of a horizontal fracture on her upper central. I find hiding incisal 1/3 horizontal fractures the most difficult to do.
Before
Step 1
Will do composite repairs:
A) Mesial incisal fracture on #9
B) Replace composite on incisal 1/3 of #8
C) Composite veneer #7

#9 Restored. #8 Prepped.
Step 2
A) #9 mesial incisal restored with Filtek Supreme Ultra Body A1.
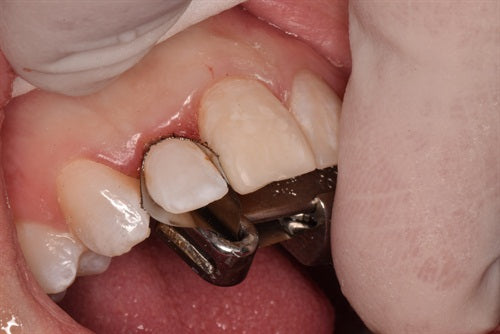
B) #8 enamel prepped with an uneven taper of 2 plus mm

Greater Curve Standard band provides isolation
Step 3
Enamel has been etched.

Incisal view of the tofflemire isolation
Step 4
Will also fill in endo access while also restoring the incisal of tooth #8.

Bonding sequence
Step 5
Etch enamel, Clean and boost (Apex Dental), Prelude SE (Danville), A1 Dentin Filtek Supreme Ultra snow plowed into Filtek A1 Flowable. The dentin composite was left short of the incisal by 1 mm and the dentin composite was not brought out to full facial contour.

Matching the white opaque stain of the adjacent teeth
Step 6
Filtek white opaque flowable was diluted with unfilled resin and painted with an applicator over the Filtek dentin to match the white opaque stain of the adjacent teeth.

Completing the restoration
Step 7
Filtek Supreme Ultra Body A1 completes the restoration. Body A1 was snow plowed into A1 Filtek flowable. Ready for shaping.

#8 Completed
Step 8
Composite was shaped to proper contour.

Isolation of Tooth #7
Step 9
As seen in the photo the etched tooth is completely dry into the crucial and deep crevices of the interproximals.
Composite veneer was purposely over contoured
Step 10
A1 Body Filtek is snowplowed into A1 Filtek flowable

#7 contoured labially to the desired shape
Step 11
A #12 blade is a great tool for carving the interproximals.
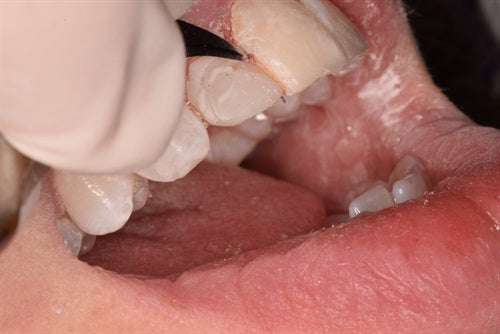
Cut back labial 1/2 mm.
Step 12
Once I have established the proper contour for #7. I cut back the labial 1/2 mm.

Matching the white opaque stain of the adjacent teeth
Step 13
Diluted white opaque flowable is applied over the cut back surface as was done for #8. Followed by A1 Body Filtek snow plowed into A1 flowable. Composite shaped back to intended contour. The white opaque has show through the A1 Body.

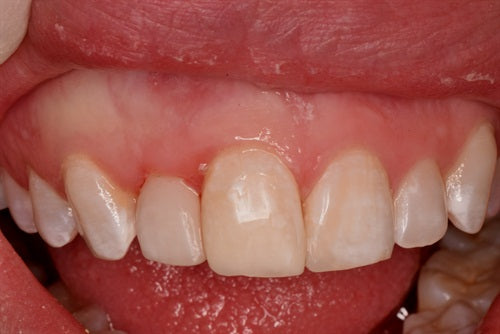
Final veneer #7, and Restorations #’s 8&9
Step 14
I recommended recontouring the gingiva over the anterior teeth. Patient declined anything to do with cutting.
Another view of the final
Step 15

Money Shot
Step 16
Need to view the teeth from the incisal throughout the procedure. Many dentists fail to do this. As a result they leave the teeth over contoured. Thus, favoring the chiclet look.

Connect